Here’s my free guide on how to create 3 do-it-yourself holiday gift tags with Paper Mate products!
Hello Friends!
I love Paper Mate and their products! I have been a long time lover of the Paper Mate InkJoy gel pens. I love how smooth the pen writes, how seamless the ink flows and the vibrant colours. I recently fell in love with the Paper Mate Flair pens. I love these felt tip pens for hand lettering and for the vast array of colours available. I was over the moon, when I received some of their products to create this exciting project to share with you!
Creating holiday gift tags can be such a fun and exciting holiday activity. It’s a great craft to pair with your next cookie exchange or hot chocolate party. Or maybe its just an evening you spend sipping on wine and creating with some friends and family.
So today I’ve partnered with Paper Mate to bring you 3 do-it-yourself holiday gift tags using some of their products. Also, be sure to stay tuned to the blog and my Instagram account (@letteringbyusha) for a very fun and exciting announcement in the new year! (Hint hint, it may have to do with Paper Mate…)
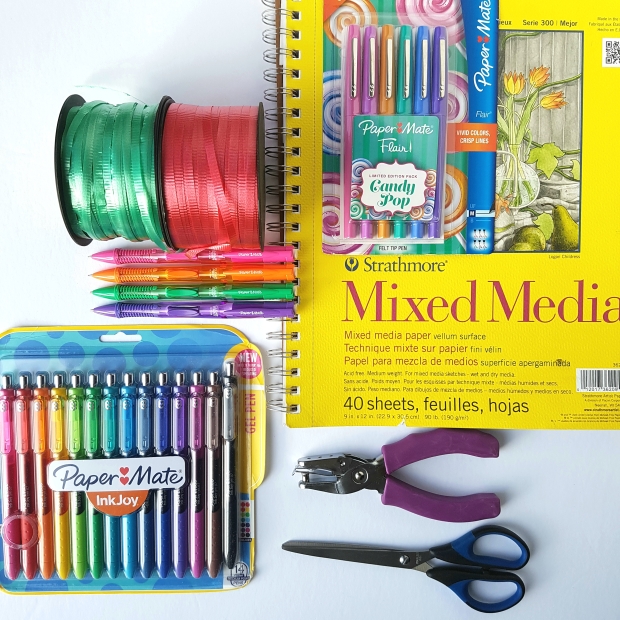
Supplies
- Strathmore Mixed Media Paper
- Hole Punch
- Scissors
- Paper Mate InkJoy Gel Pens
- Paper Mate Flair Pens
- Paper Mate Clear Point Erasable Coloured Mechanical Pencil
- Curling Ribbon
Tips:
- You can use any paper you have on hand. Try using coloured, patterned or textured paper for a unique look.
- Be creative with how you use your holiday gift tags! Use them on gifts, wine bottles, or even on wrapped baked goods. Maybe put some on your holiday tablescape too!
- These holiday gift tags can be made in any size! You can make some small ones for small gifts and bigger ones for bigger gifts.
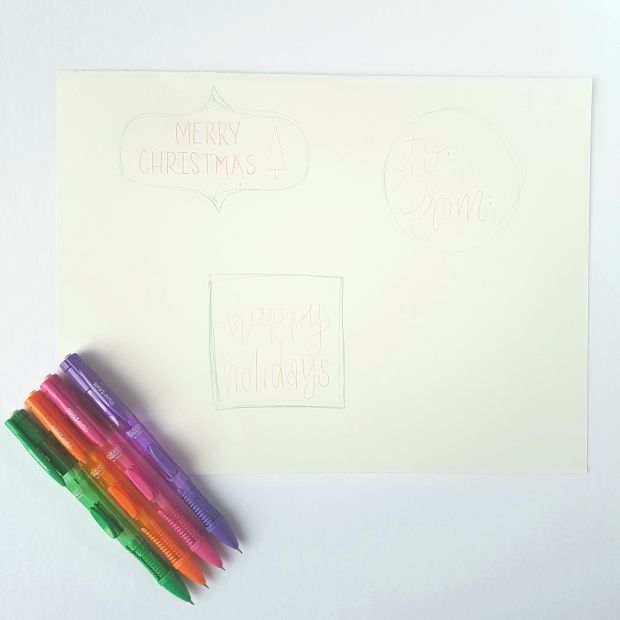
Step 1: Sketch out Your Gift Tag Shapes
Using the Paper Mate Clear Point erasable coloured mechanical pencils, sketch out the shapes you want your holiday gift tags to be on a piece of Strathmore Mixed Media paper. These pencils are great for this because, they come in coloured lead (ahhhhhh moment! Super fun colours too!) and they erase too (another ahhhhh moment!). Play around with different shapes until you are happy with the outcome.

Step 2: Sketch out Any Phrases/Quotes
Think about any designs, illustrations or phrases/quotes you would like to include on your tags. Lightly sketch these out on your gift tags using the Paper Mate Clear Point erasable coloured mechanical pencils. I find that it helps to plan out what you would like the gift tags to look like before you apply any ink. Remember, at this stage everything is still erasable!
Step 3: Start Decorating!
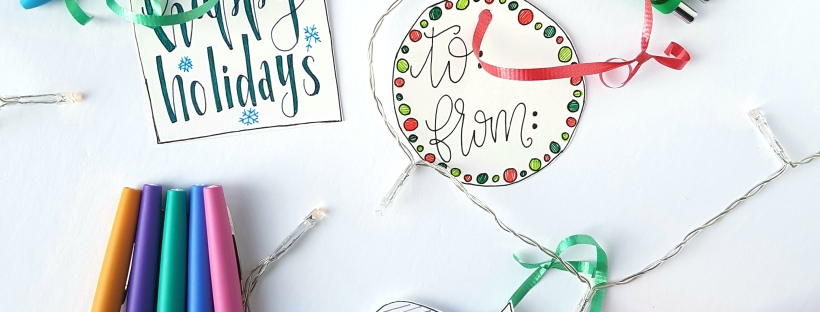
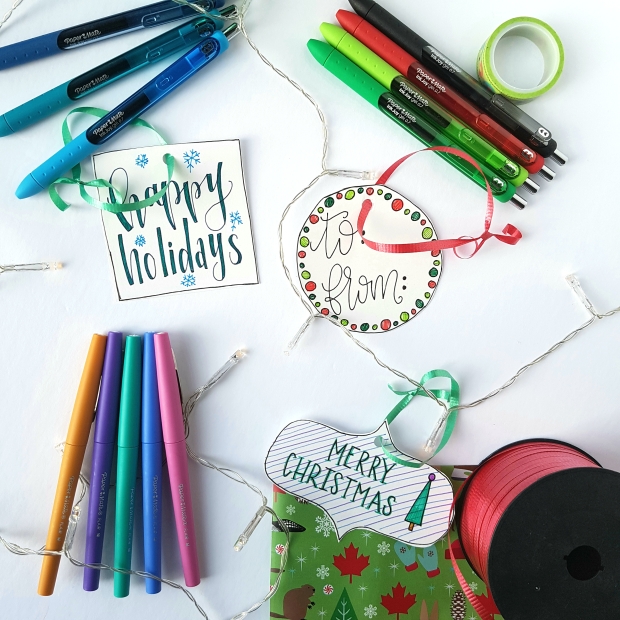
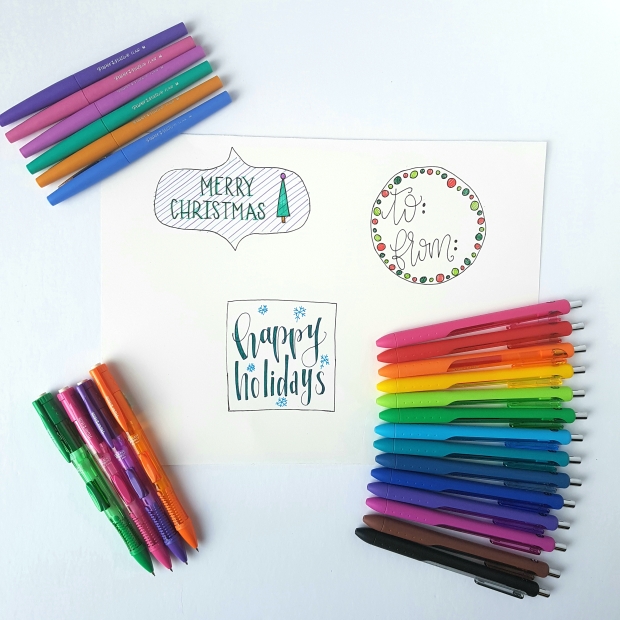
Grab all of your Paper Mate InkJoy gel pens and the Paper Mate Flair pens and start inking away! Here are the designs I came up with.
1. Patterned Background
I alternated between two colours in the Paper Mate Flair pens, blue and green, for a frosty look. I also used the Paper Mate Flair pen to letter the phrase Merry Christmas. For a fun decorative detail, I added a small, simple Christmas tree. The Paper Mate Flair pens are so much fun to use and can really bring your design to life with all of the vibrant colours available.
2. Border
For this design, I drew small, medium and larger circles around the border of the tag. I used the light green, green and red Paper Mate InkJoy gel pens to fill in the circles, ensuring to alternate colours. For this design I wrote ‘to’ and ‘from’ on the tag with the black Paper Mate InkJoy gel pen.
3. Hand Lettering
For the last holiday tag design, I choose to hand letter ‘Happy Holidays’. One of the reasons why I love the Paper Mate InkJoy gel pens so much is that they make it so easy to create effortless, hand lettering. I picked a darker blue for the outline and filled in with the turquoise colour. I then used the light blue in the Paper Mate InkJoy gel pen to create different sized snowflakes in the background of the gift tag.
As a final detail to make everything pop, I outlined the tags, designs and hand lettering in the black Paper Mate InkJoy gel pen.
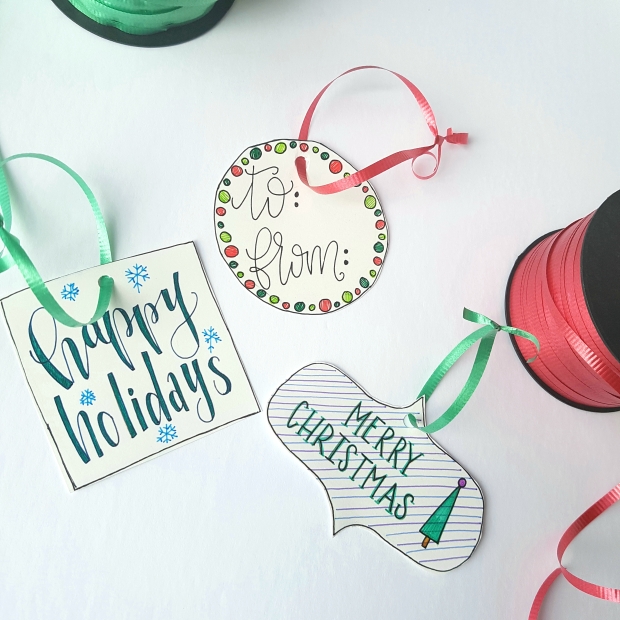
Step 4: Cut out Tags
Using scissors, cut out your holiday tags. Create a hole at the top of each tag with the hole punch. When you are ready to attach your tags, use a piece of curling ribbon to create a loop. You can also use other strings as well such as yarn or even string. You can also use tape to attach your tags as well, creating no need to punch a hole.
—
There it is – my free guide on how to create 3 do-it-yourself holiday gift tags using Paper Mate products! Creating your own holiday gift tags is a super easy and fun holiday activity. Pour yourself some wine, watch your favourite Christmas movie and create! Tag me in your creations! I would love to see what you come up with.
Be sure to follow me on the blog and on Instagram (@letteringbyusha) to stay tuned to all of my lettering, crafting and personal adventures (and don’t forget an exciting announcement soon as well)!
What is your favourite Paper Mate product?
~Usha
Life Updates
- My PVR is filled with Christmas movies but there isn’t enough time to watch all of them…Dear Santa, I would like to have more time on my side!
- I finally finished the book ‘Into the Water’ by Paula Hawkins. I’m starting ‘All We Ever Wanted’ by Emily Giffin.
- Did you hear?! They are thinking of making a spin off show for ‘Jane The Virgin’. So exciting!
Other Blog Posts To Check Out
Holiday Lettering with Watercolour Background
How to Draw a Christmas Tree 7 Ways
3 Ways to Create Blended Brush Lettering with the New 12 Coloured Tombow Dual Brush Pens

2 thoughts on “How to Create 3 DIY Holiday Gift Tags”